In Getting Started Part 1 and Part 2, you learned how to create and track records in Scholaright. But you’ve probably been tracking grades for years and you don’t want to lose all of that or suffer a repetitive strain injury clicking all these buttons to recreate your data. Scholaright provides two ways to bring your existing records in so you can keep everything in the same place. First, we will cover the manual import process. Then, we will cover the auto import feature, which takes various types of files, scans, and photos and turns them into courses, assignments, and grades.
Manual import
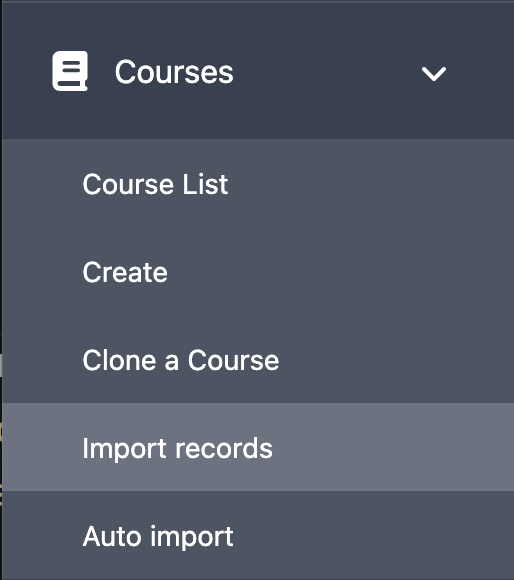
This method will take more work, but also gives you the greatest control over what gets imported. To get started, expand the Courses menu on the left and click on Import Records.
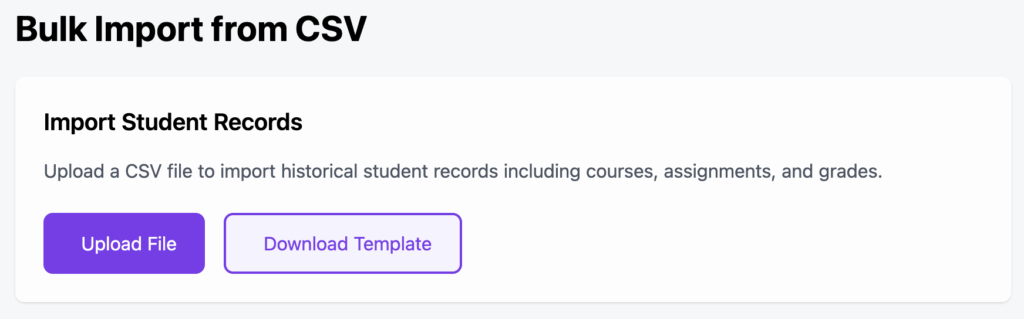
On the next screen, click the Download Template button. This will download a spreadsheet (CSV) with some sample data filled in based on students you’ve added to your school.
Now, you can fill in all of your course and assignment details and then upload the file back into Scholaright.

Let’s cover how these columns get used…
| Column name | How to use it |
| academicYearLabel | Enter a start and end year with a hyphen in between with no spaces. For example: 2024-2025. This is the academic year where the grade information will be added. If a matching academic year exists, it will be used. If not, a new one will be created. |
| studentId | There are two types of student IDs in Scholaright: the Scholaright ID and what we call the UUID. The import process uses the latter, which looks like 6560d282-e4ea-433c-ae57-0741a8189edc. This ties the assignment to the correct student. The sample file will contain real IDs for your students, but you can also find these IDs by opening Students and clicking on your student’s name. The UUID will be at the end of your browser’s address bar. For example: https://app.scholaright.com/students/6560d282-e4ea-433c-ae57-0741a8189edc (pictured below) |
| studentName-optional | This is not used for the import and only exists to help you keep track of which student the assignment is for. You can leave it blank. |
| courseName | The name of the course this assignment should be added to. If there is a course that matches the academic year, name, and grade level, the assignment grade will be added to it. If not, a new one will be created. |
| courseGradeLevel | The grade level of the course: K-12. |
| courseCredits | How many credits the course is worth. This is needed if the course has to be created. Remember, a course that lasts one semester is generally .5 credits, while a full-year course is 1. |
| courseTerm | The name of the term/semester this course belongs in. The import will match the term by name and, if the term does not exist, it will be created. |
| courseQuarter | If you use quarters, this should be the name of the quarter (e.g.: Q1, Q2, etc.) to which this assignment belongs. If a match is not found, a new quarter will be created. |
| passFailCourse | Mark this as “yes” if this course should only be graded as pass/fail, instead of with a percentage and letter grade. Otherwise, leave it empty. |
| assignmentName | The name of the assignment. If a matching assignment is found in the course, the student’s score will be added to the existing assignment. Otherwise, a new one will be created. |
| assignmentMaxScore | The maximum score possible on the assignment. |
| assignmentWeight | The weight of the assignment. |
| assignmentType | The assignment type. Current options are test, milestone, homework, and project. |
| assignmentStudentScore | The score your student received on this assignment. |
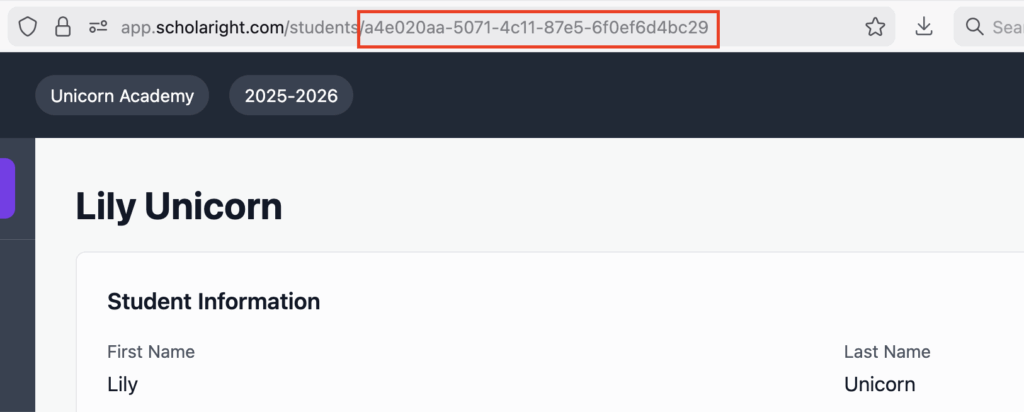
The above image demonstrates where to find your student’s UUID.
After you have everything filled in, simply upload the file from the Import Records menu item in Scholaright.
Auto Import
The auto import leverages AI to turn any of your records into academic years, courses, assignments, and scores. You can send spreadsheets, document, scans, and even photos of previous grades. There does need to be enough information for the AI service to identify the year, courses, scores, etc. However, you do not need to include your student’s personal information. Scholaright does not share student IDs or names with the AI service, but anything included in your photos and files will be sent as-is. If this is a concern, please redact personal information before uploading.
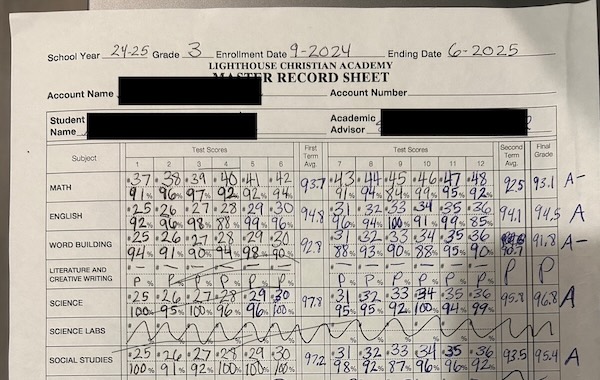
This is an example of a grade sheet the auto import was able to use. It can determine if the course is pass/fail or graded. If the term names do not match an exiting term, you will have a chance to correct it before completing the import.
To get started, assemble the files, scans, and photos of your student’s grades. Expand the Courses item on the left, and then click on Auto Import.
Choose the student you want to upload records for and then click Upload and process with AI.
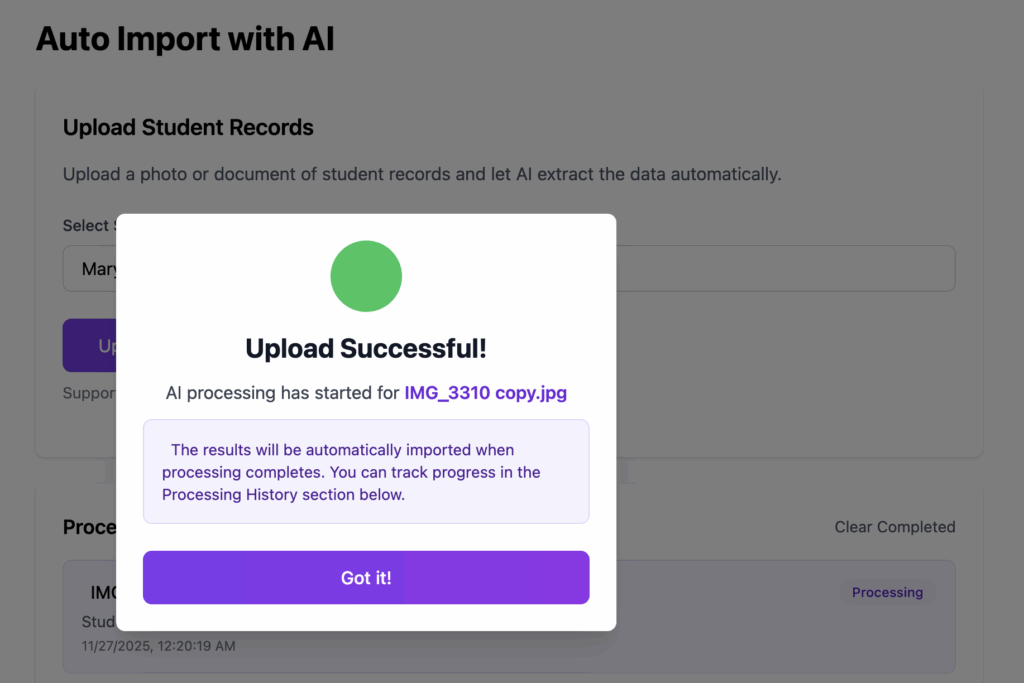
You should get an Upload Successful message, which means that your file was uploaded, but it has not yet been processed. After a minute or so, the status should turn to Completed or Needs Review. If a review is needed, it means some data points, like term, need to be fixed up or confirmed.
You don’t have to wait on the auto import screen while the auto import runs. When it completes, if any review is needed, a notification will appear in the top bar like this:

Click this icon and then click Review & Approve on the next screen.
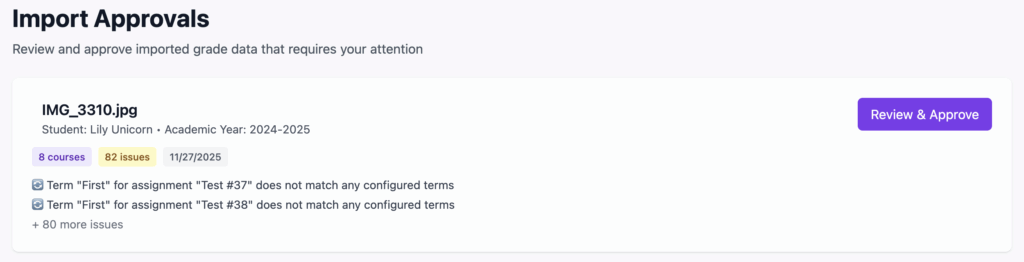
Make any necessary changes and then click Accept & Approve at the bottom of the screen.
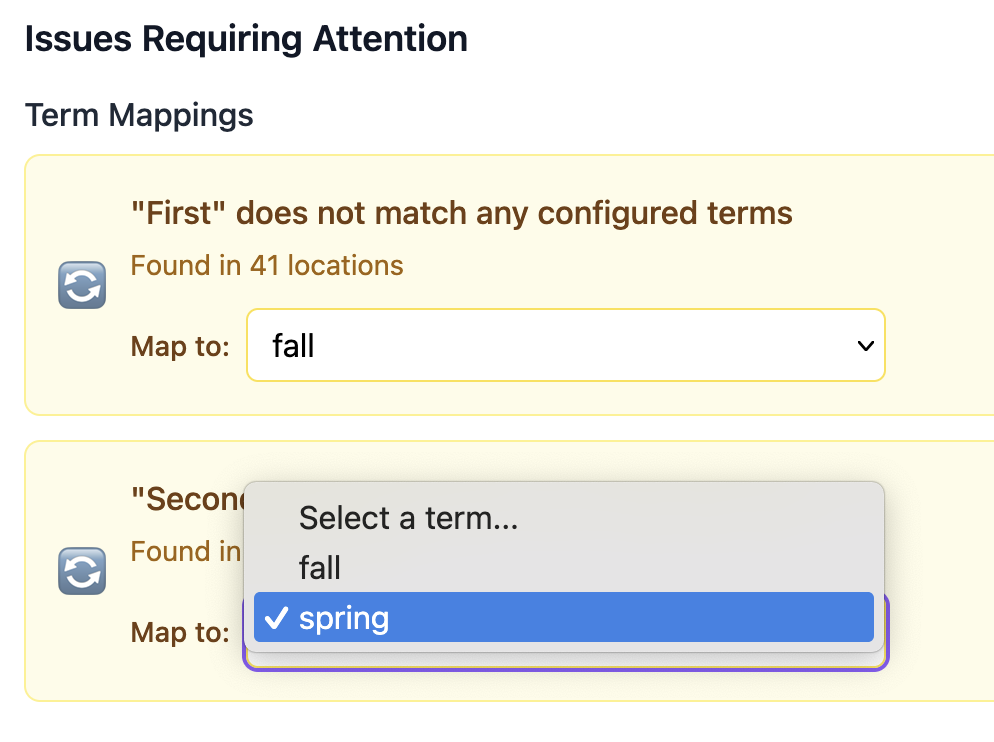
In the below example, Scholaright couldn’t find a term named “First” so it offered to select a different term to use for all of these courses and assignment.
Now you can go into Courses on the left menu and see all your imported records. Note that you may need to switch to the imported academic year to see these newly imported courses. Your imported records will also be included in your students’ GPA and reports.
Summary
As you can see, there are two methods to get existing records into Scholaright. Which is best is up to you. The auto import requires a bit more double-checking but offers a lot of convenience over the manual import. If you have trouble with either, please reach out to us at support@schoalright.com.
[…] ourselves, we are always looking for ways to make it better and easier. Scholaright’s Auto Import feature makes bringing in records from your paper or other digital records a cinch. Now, with […]
[…] Continue to Getting Started: Part 3, Importing Records […]